How to Set up Your Buzz TV Stick To Your BudSense Digital Menus
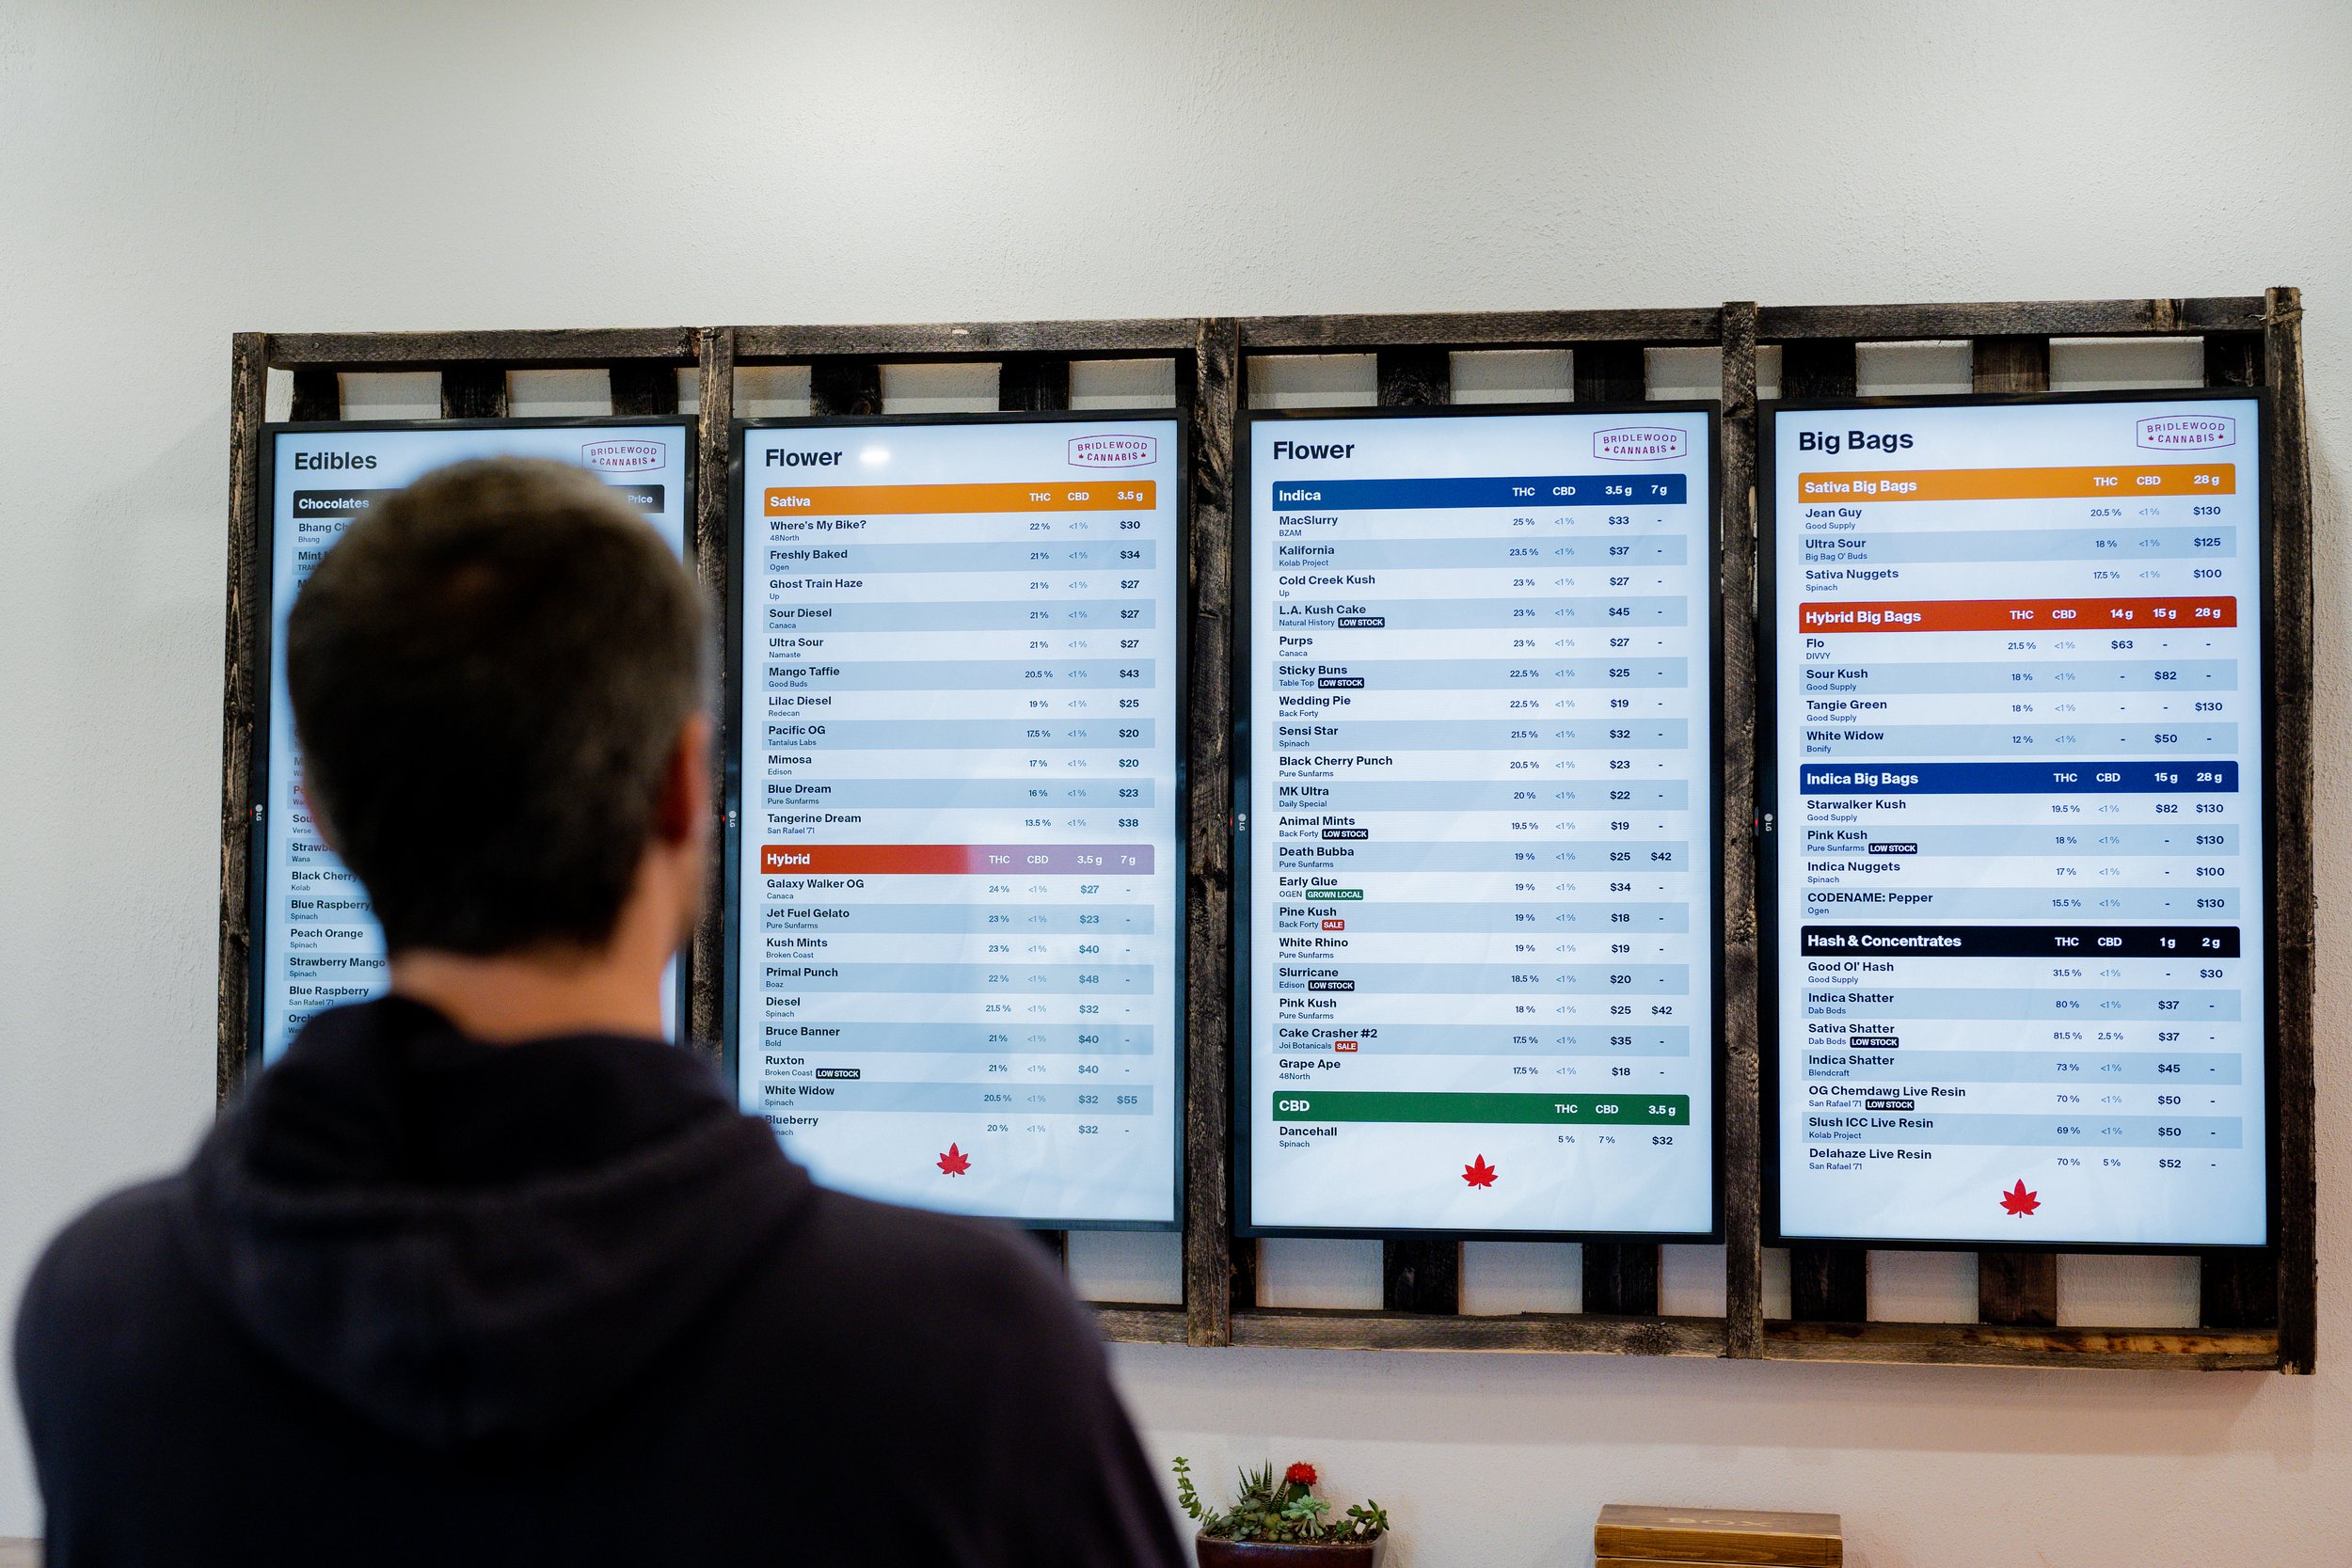
Setting up your Buzz TV Box hardware is incredibly easy! In this quick guide, we'll take you through the simple steps to seamlessly connect your Buzz TV box to your BudSense Digital Menus. Whether you're a newcomer to cannabis retail or simply need a refresher, fear not! We've got you covered with all the essentials for setting up your Buzz TV Box and getting your BudSense digital menus up and running in no time! So let's dive in and make this process a breeze for you!

Step by step instructions for installing your Buzz TV Stick to BudSense Digital Menus

Step 1: Open the box
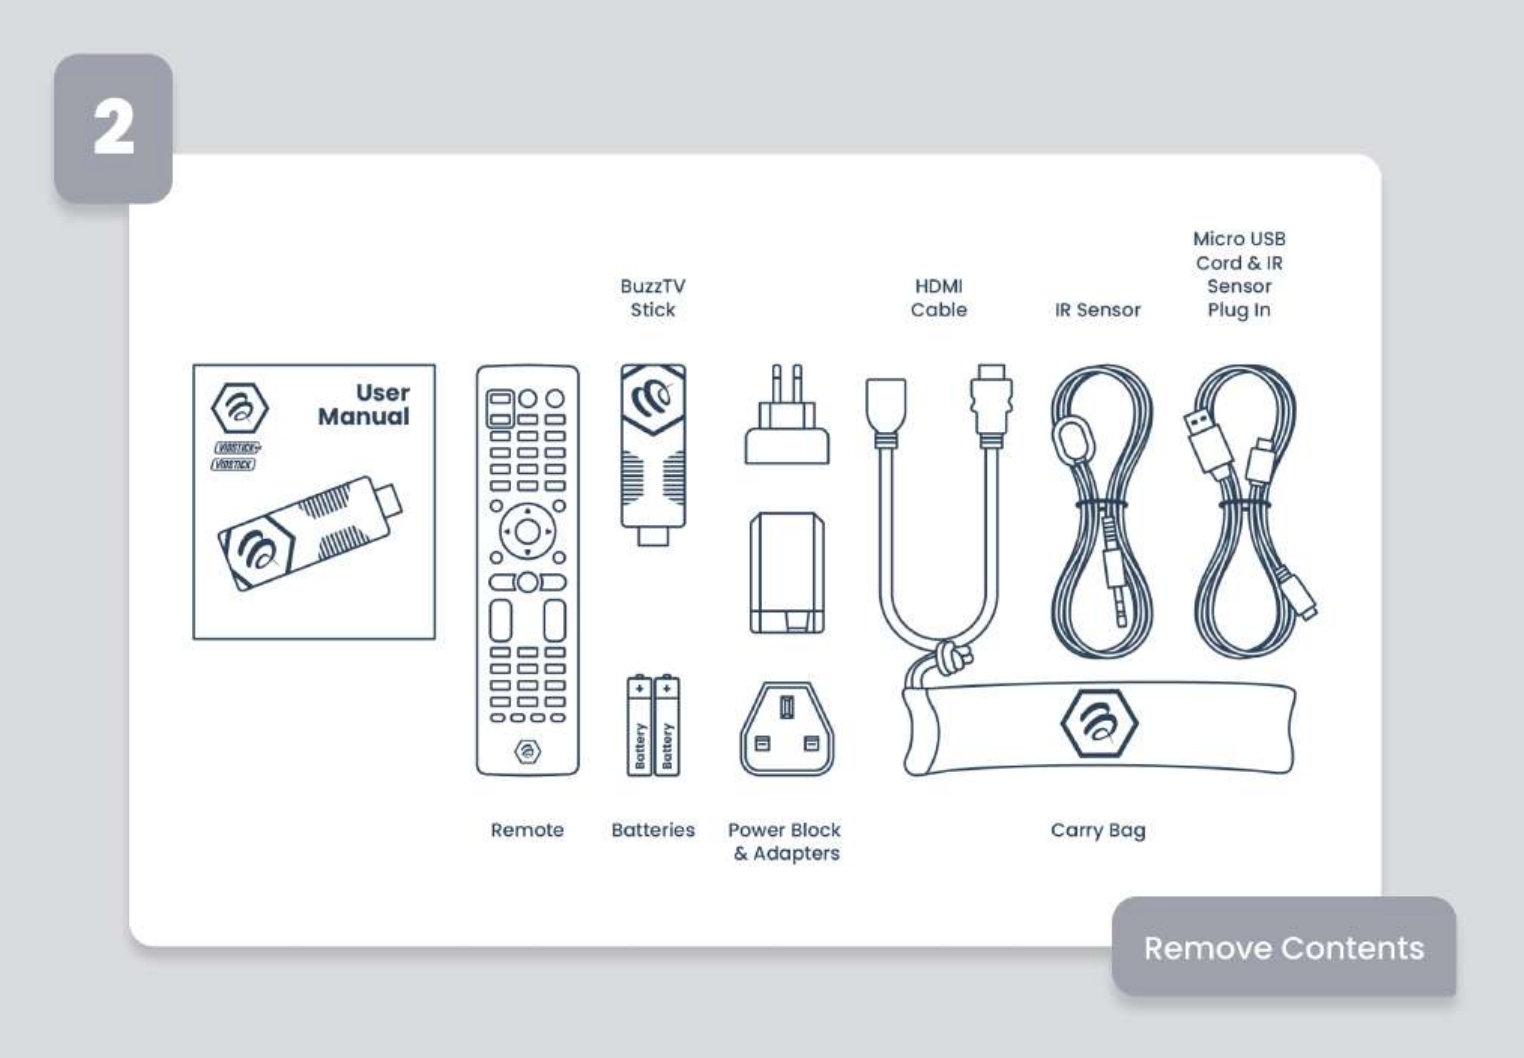
Step 2: Remove Contents

Step 3: Plug the IR sensor into the IR sensor plug in on the Micro USB card, then plug the Micro USB cord into the BuzzTV stick.

Step 4: Plug the BuzzTV stick into the HDMI port on the TV (use HDMI cable if needed)

Step 5: Plug the Micro USB into the USB port on the TV (this provides power to the BuzzTV stick)
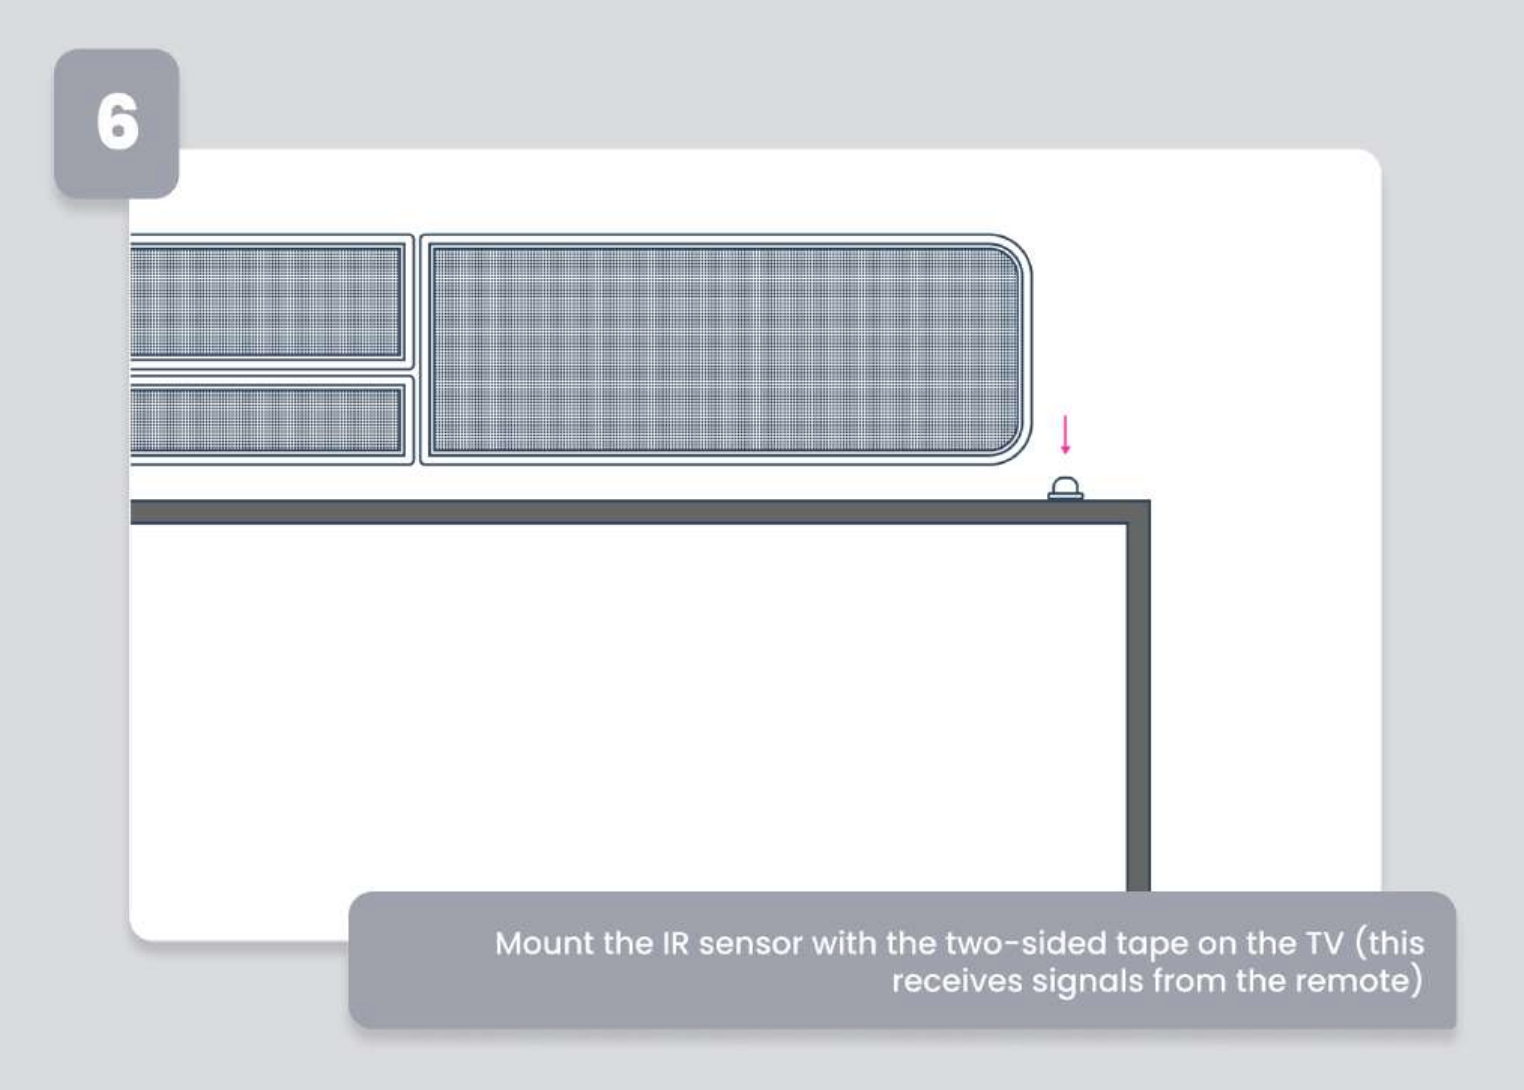
Step 6: Mount the IR sensor with the two-sided tape on the TV (this receives signals from the remote)

Step 7: Turn on the TV, put the batteries in the remote and press the power button, the BuzzTV stick will power up

Step 8: Pair the remote by pressing and holding OK and Volume down until the remote LED flashes red

Step 9: Select preferred language

Step 10: Select preferred time zone

Step 11: Select your TV’s resolution (if unsure selects 1080p at 60hz)

Step 12: Adjust the screen size so that the blue angles match the edge of your screen
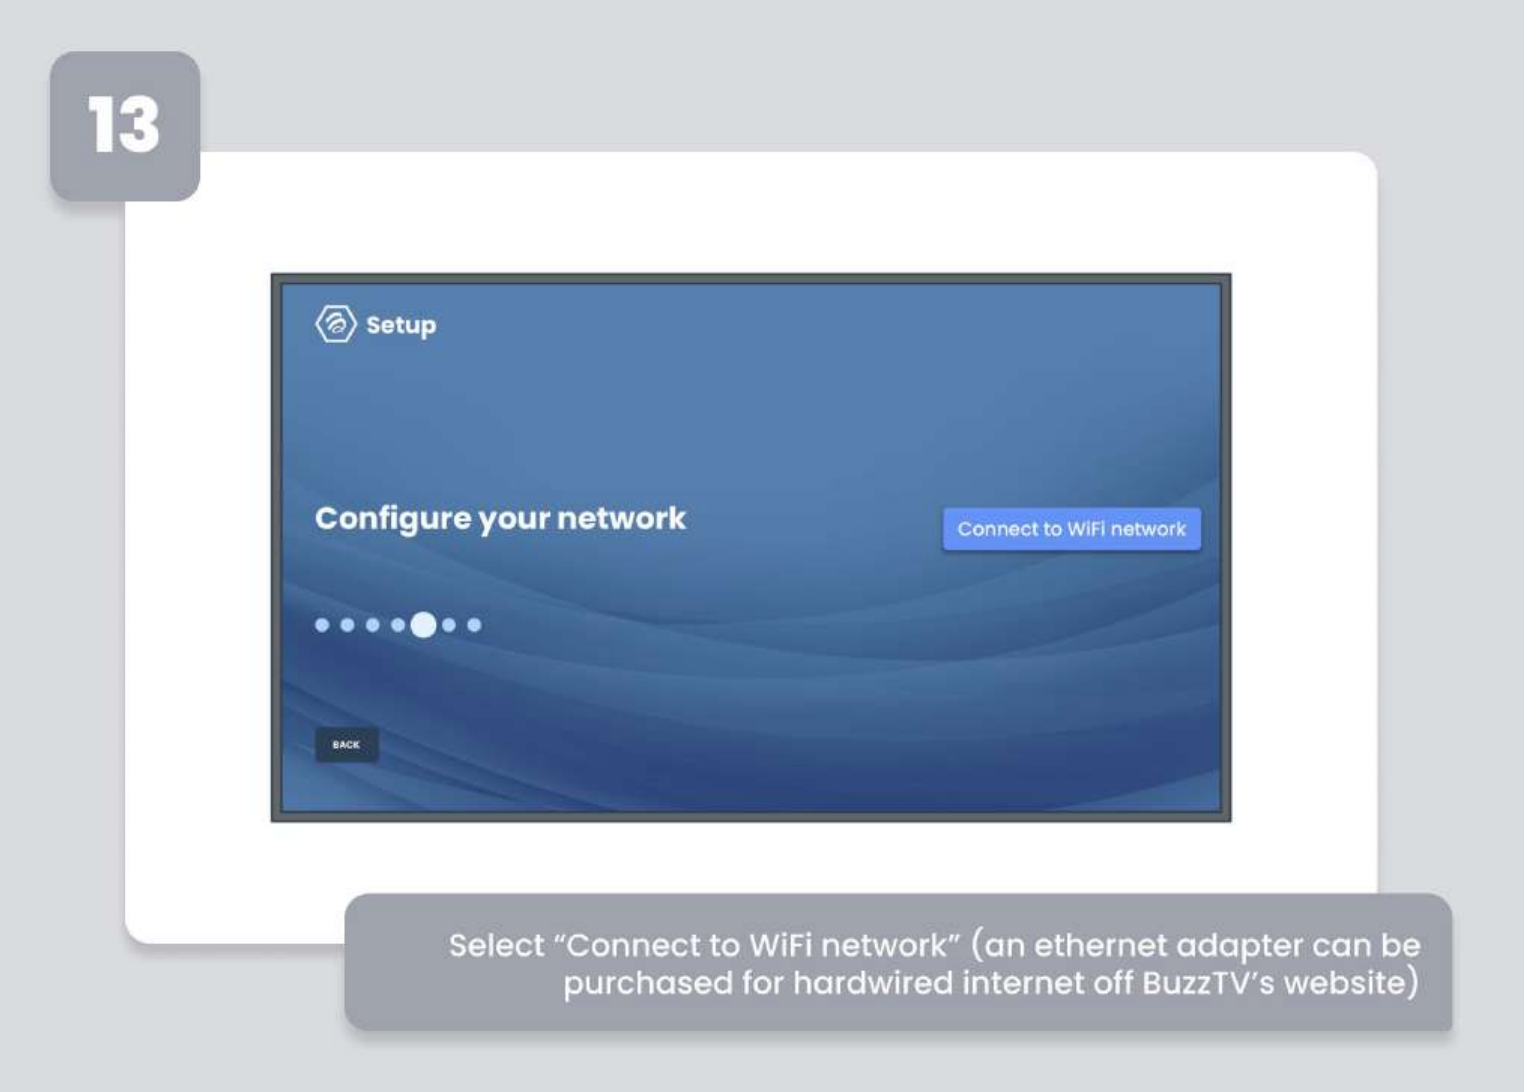
Step 13: Select “Connect to WiFi network” (an ethernet adapter can be purchased for hardwired internet off BuzzTV’s website)

Step 14: Select you WiFi

Step 15: Select “All Apps”

Step 16: Select “Google Play Store”

Step 17: Sign into your Google account (if you don’t have a Google account, you will need to create one first)
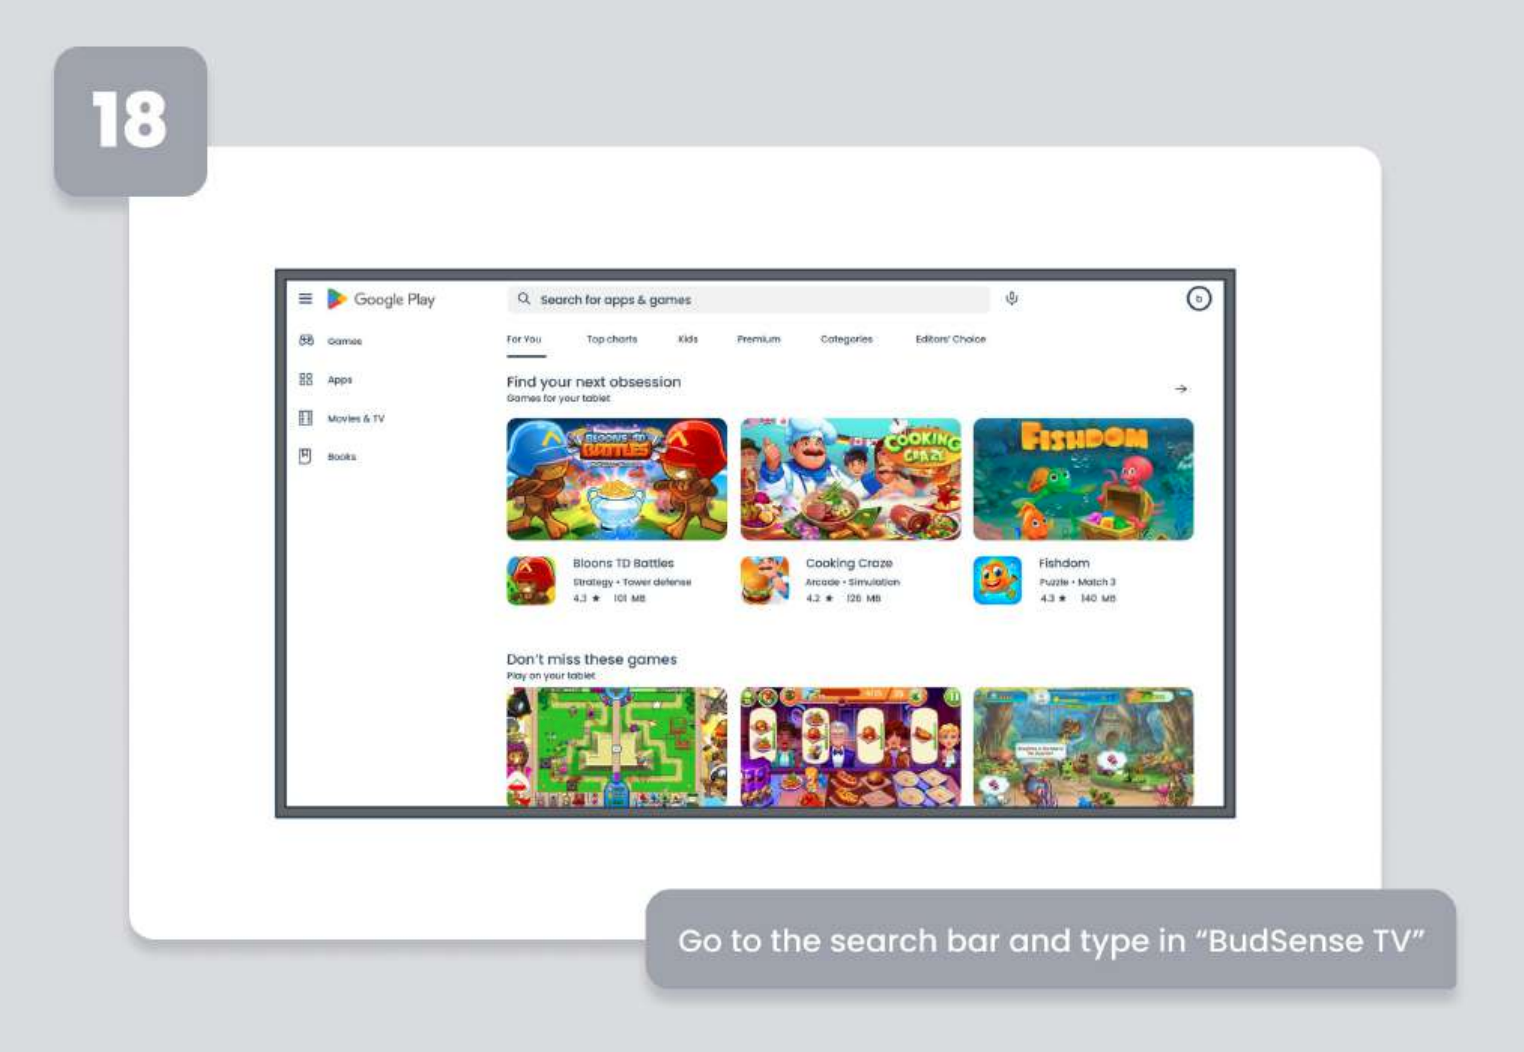
Step 18: Go to the search bar and type in “BudSense TV”

Step 19: Select “Install”

Step 20: Log into your BudSense account on a laptop or computer and select “Displays”

Step 21: Select “+ Add new Display”

Step 22: Fill in the required fields and select “Save Display” (do not charge the orientation in the TV settings, the BudSense App will automatically adjust the orientation based on how it is set up in the App)

Step 23: Select the “Company” tab

Step 24: Select the “Devices” tab and select “+ Select Device”

Step 25: A screen like this will appear

Step 26: Go back to your TV and select “Open”

Step 27: A 4-digit code will appear
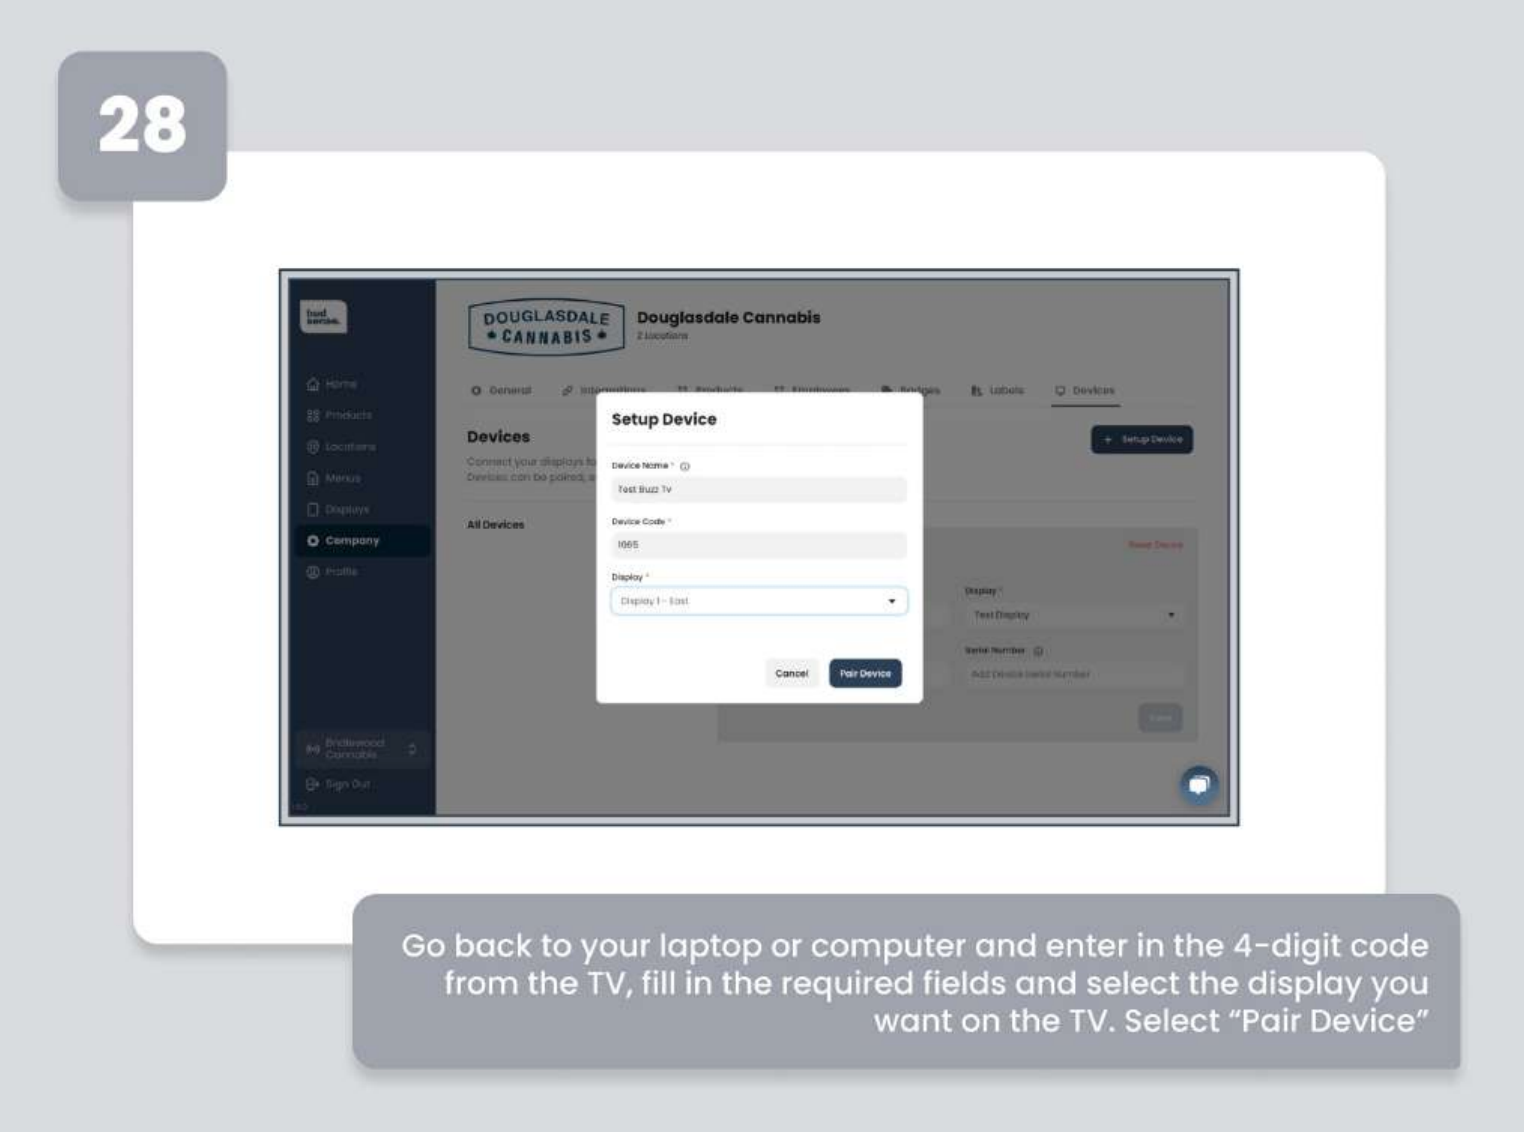
Step 28: Go back to your laptop or computer and enter in the 4-digit code from the TV, fill in the required field and select the display you want on the TV. Select “Pair Device”.

Step 29: You menu should appear on the tv. You Buzz TV Sticks and BudSense dispensary TV menus are now set up.
